LVL Beam installation - how does it go together?
So you want to open up a wall in your home to create an inviting space or to have a little bit more breathing room but you don’t know if that wall you want to open up is load bearing or not. Not to mention if there are any outlets or switches that need to be moved or plumbing running up through your ceiling and out your roof line. But once you’ve figured out that there is nothing else but wood and sheetrock in the way of your beautiful open concept reality, you do a little research, hire a contractor (and possibly a structural engineer) just for them to tell you in three minutes that your wall is load bearing and you will have to add a special structured engendered piece of lumber put up with post on either end to hold up your ceiling or second floor.
-
Is a special engineered framing lumber consisting of quite a few thin strips of wood and a adhesive bonding agent that when combined creates an incredibly strong structural lumber that is able to withstand a specified(by the manufacturer) amount of weight over the given amount of linear feet for the project based individually on the dimensional size of the engendered lumber.
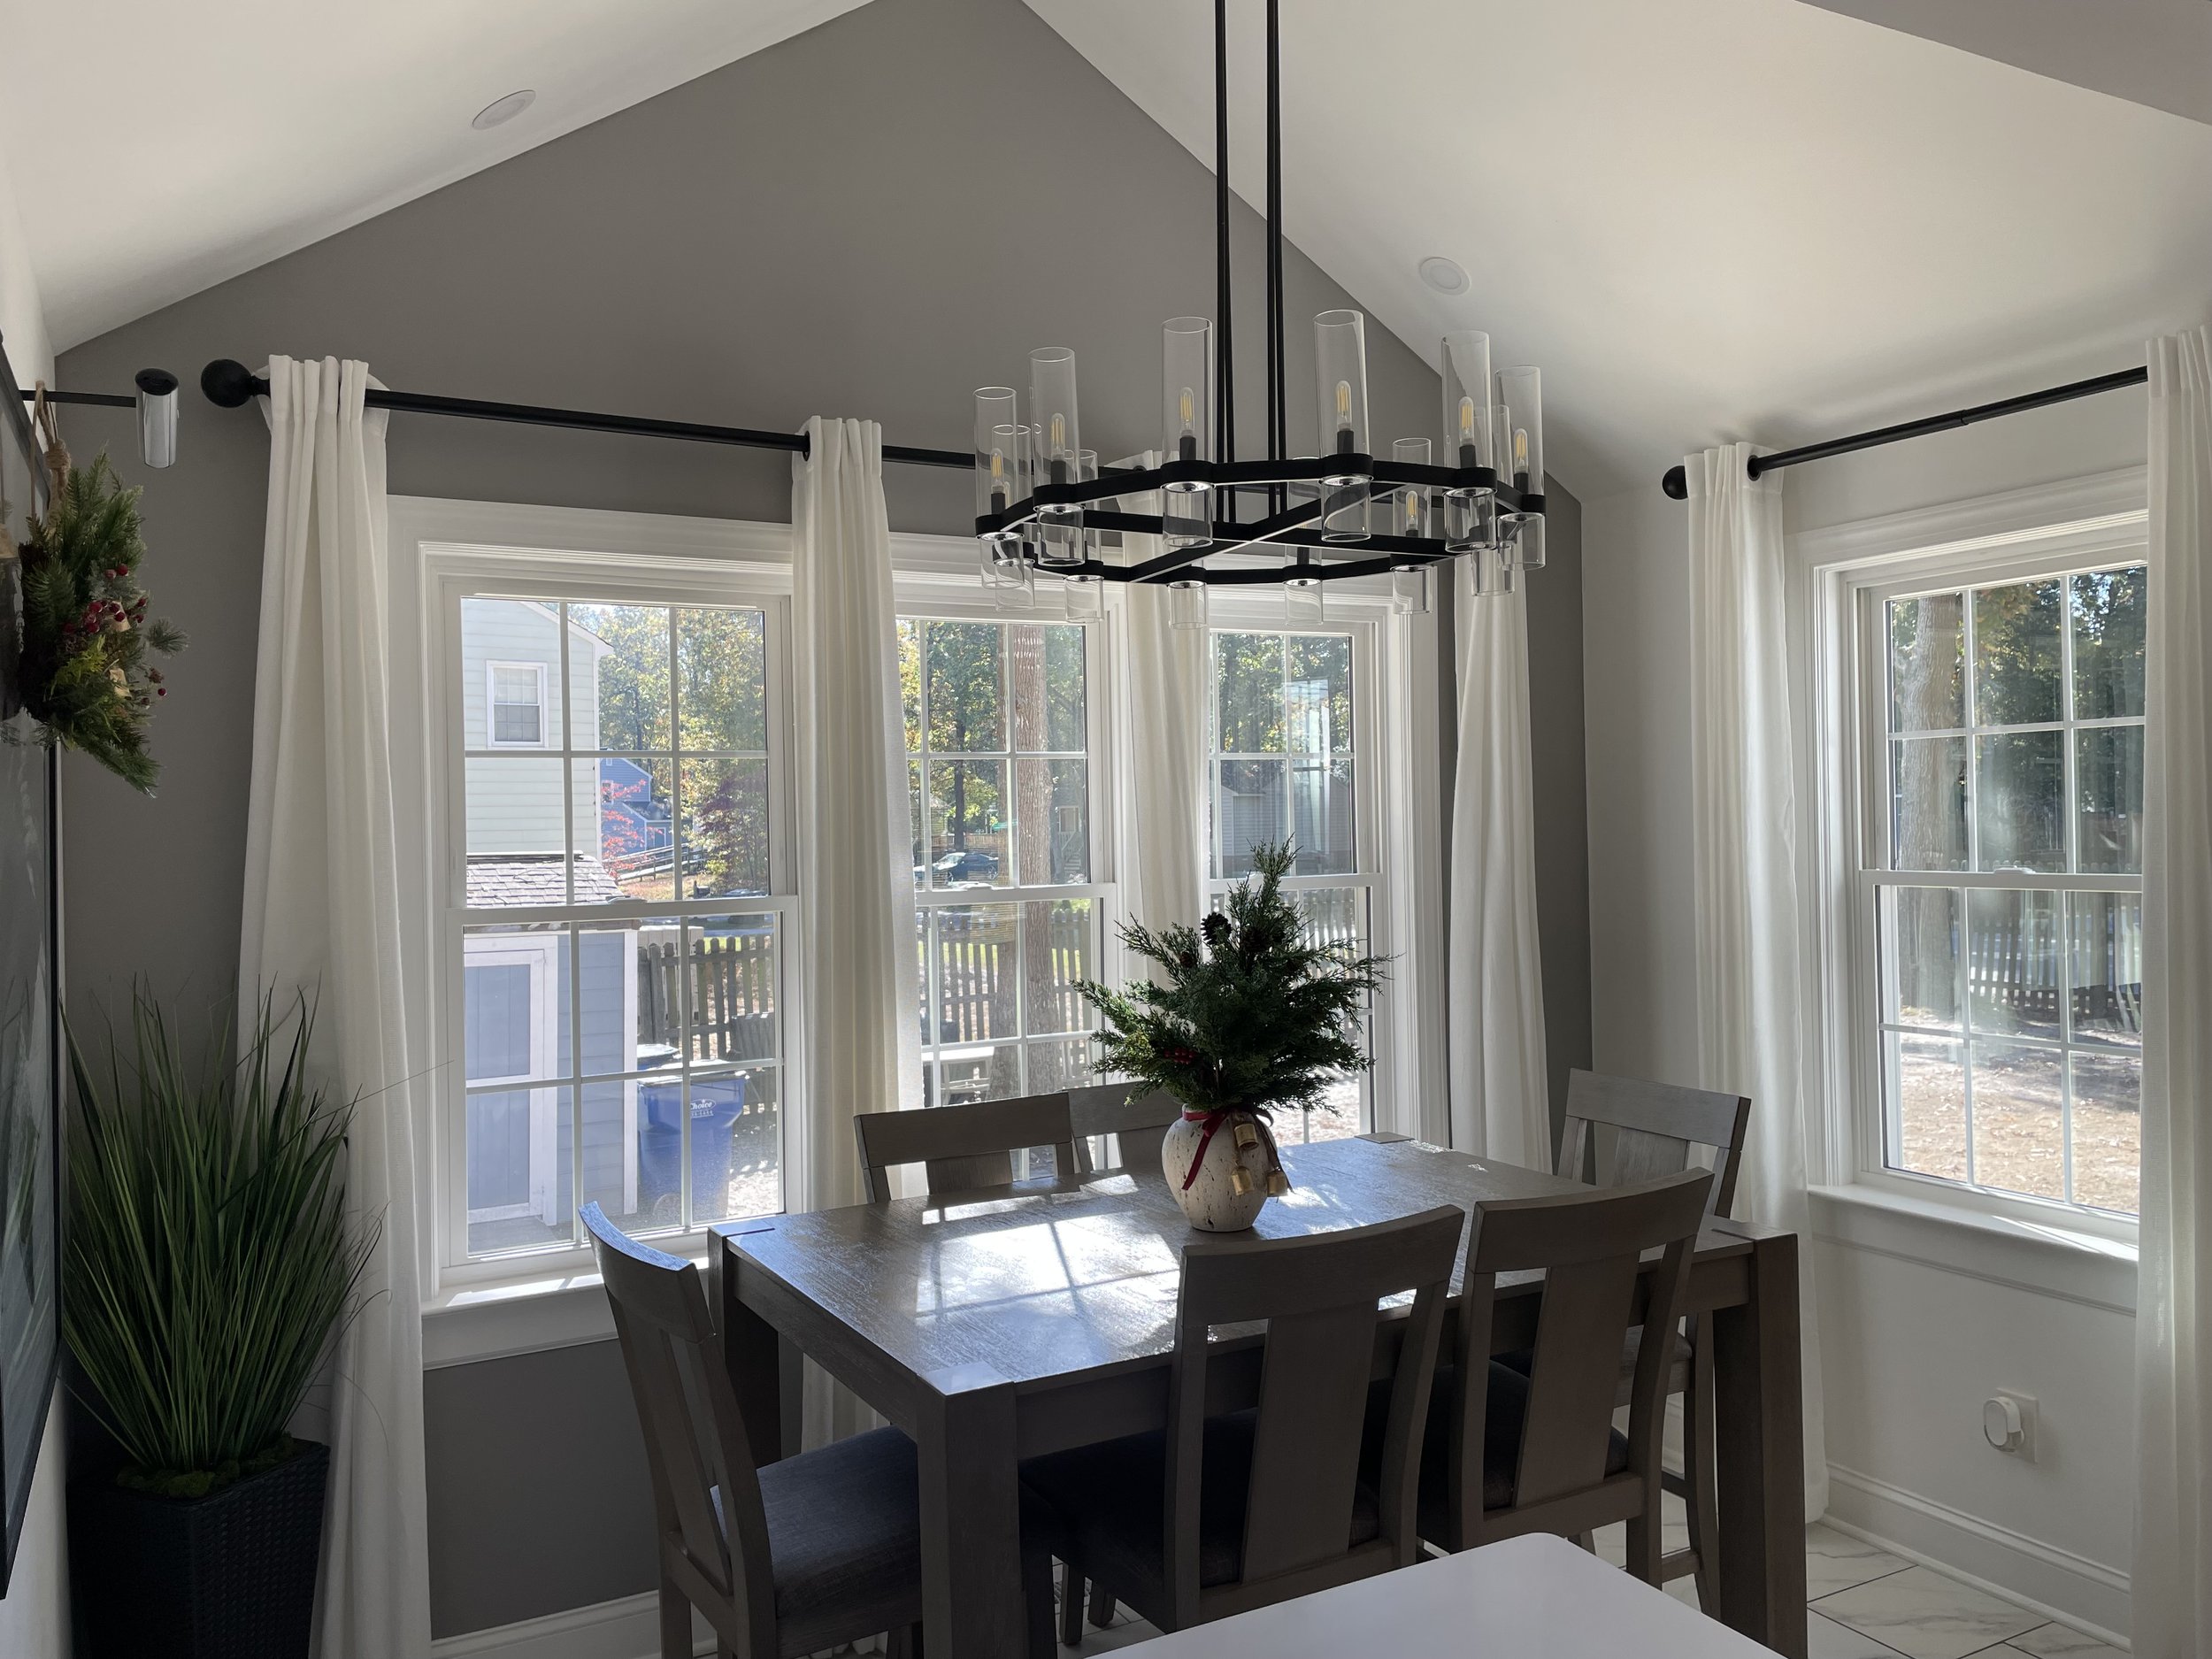
Kitchen bump out we did located in Richmond, VA
The LVL installed in this project was a double(as most will be) 14” x 1 3/4” x 12' on 4“ x 4” LVL post.
Then the phrase “LVL Beam” shows up frequently and you quickly realize that this is what you will have to do to achieve your goal.
In this Article I am going to list exactly what the process is, and the different options that can happen when planning and constructing this beautiful gateway to paradise.
First thing-

Before picture
This is where our kitchen and living room met. We wanted to open it up to create better flow in our kitchen
This is definitely not a DIY job or an “I know somebody that knows somebody” situation…
When it comes to removing a load bearing wall to install a beam support system in your home you definitely want a certified professional who knows exactly how the process goes. Otherwise you could put yourself, your family, and the home you worked hard for, in life threatening danger. It’s a good idea to have a permit for the project with the city or county you live in, that either your contractor or you will pull. Having a permit will insure you a third party that is monitoring the progress, and that your project gets constructed correctly and to current code.

These are actual calculations for the pictures shown in this article. This one came from my supplier because I’ve sent them over the house plans.
You are going to have to have a supplier and/or a certified structural engineer review your prints and plans to understand where the LVL beam will be placed, and what it will be holding up— most suppliers will do this for you for free (as long as you purchase the materials from them). Some wall locations that are selected to have an LVL placed into it might not be located on an exterior foundational wall or overtop of a girder system, in those cases your structural engineer or your contractor will have advised you that two columns will need to be constructed that will be directly located underneath your load bearing points of your new LVL posts.
Second-
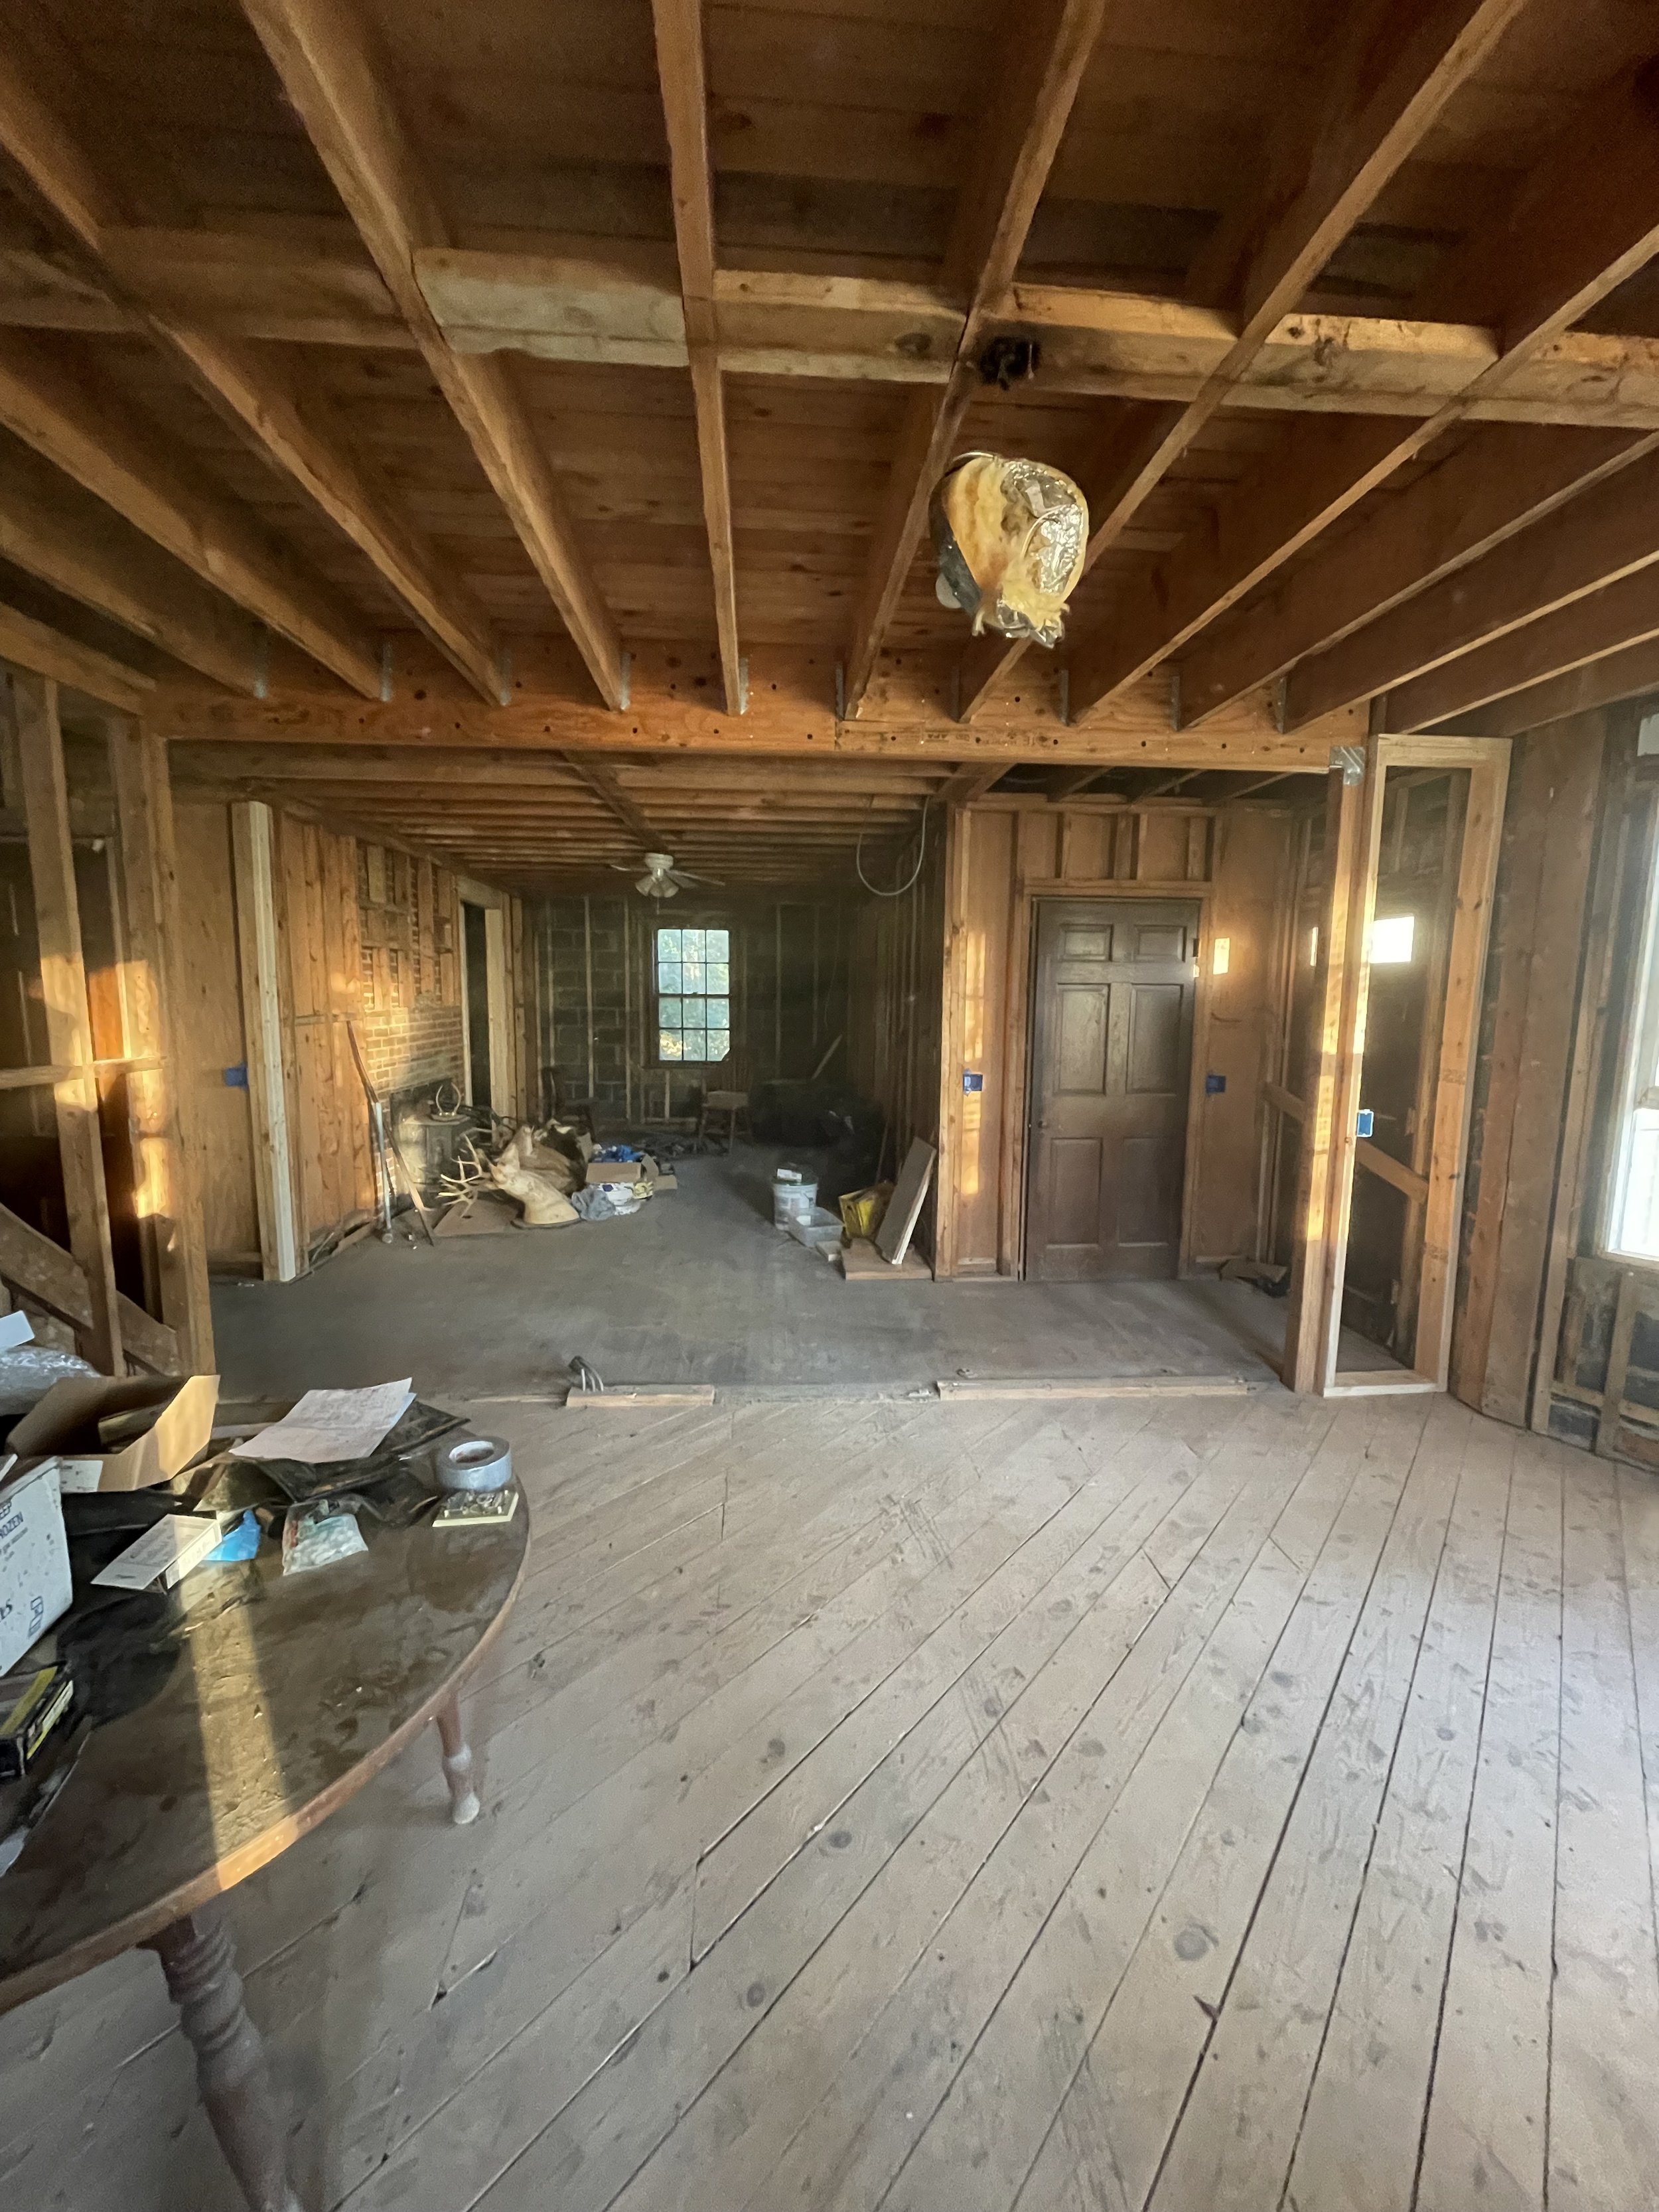
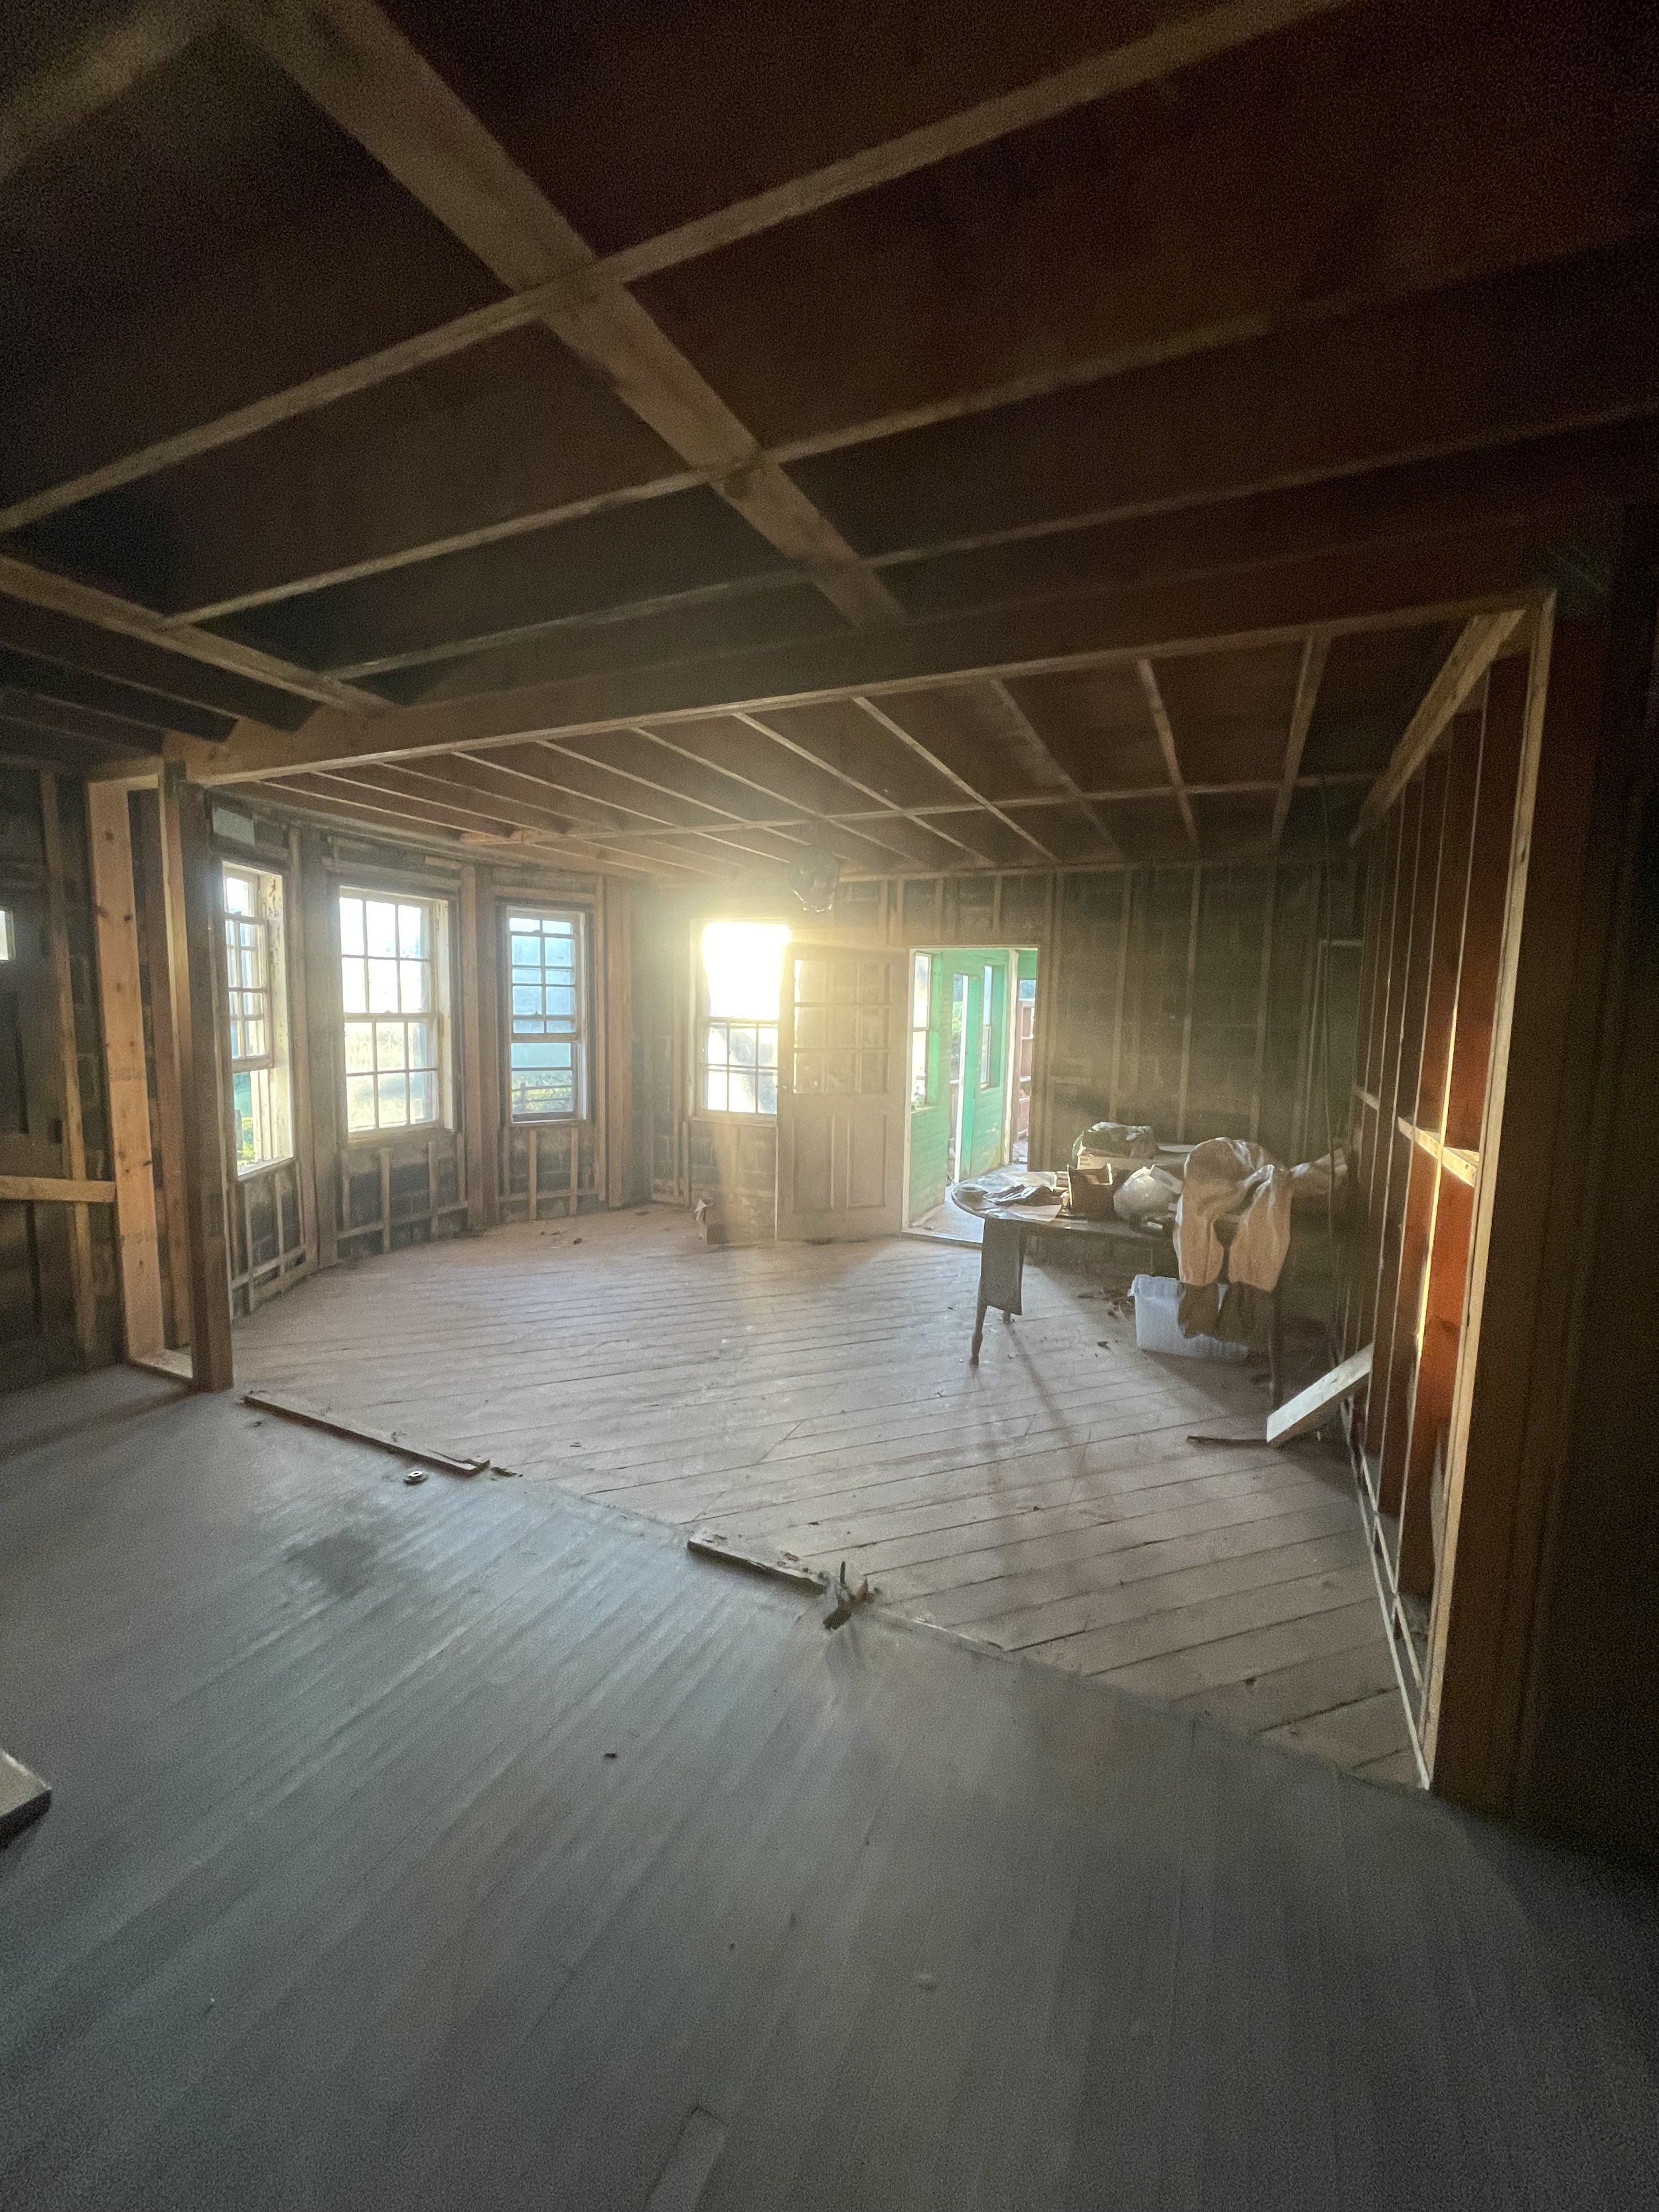
Demo. Sheetrock or plaster will be removed from the wall you are opening up, and around 2 to 3 feet of the ceiling covering (going away from where your LVL will be installed). If the wall location is not an exterior wall where your LVL will be placed, sheetrock/plywood on either side of the wall will also be removed. Once you have those areas exposed you will be able to see what the ceiling joist system above you looks like and how many ceiling joist are resting on top of the load bearing wall. At that point you will be able to make a count of how many approved joist hanger brackets you will need to properly fasten your LVL to your ceiling joist [if you are going to have a recessed beam put in]. If you don’t plan on recessing the beam, your ceiling joist will rest on your new LVL beam.

Third-
This is probably my most stressed point of construction during these projects: Before removing any pre-existing walls, one(if on an exterior wall) or two temporary wall supports that expand the entire length of your new LVL beam need to be constructed. This step ensures you that your ceiling/2nd floor joist are properly supported and are still at proper level when removing the old load bearing wall and installing your new LVL beam.
General rule of thumb: the temporary wall(s) should not be anymore than 3 feet away from the point of load and the best results occur when each joist has one support under it.

The floor system for our second floor is a little bit different than what you might typically see.
Fourth-
In the picture above you can already see that I’ve demoed the load bearing wall and cut the width of my LVL beams that are going into place. We constructed a recessed beam so that we would have the most visibility between our living room and kitchen when everything was finished.
The next step is to demo the load bearing wall and cut the joist the width of your LVL’s (if you are planning to recess your beams). If there’s any electrical or plumbing in the wall you will have to demo those as well or have a certified tradesman/tradeswoman of each needed trade to safely remove or move out of the way.

This is a column on another project we had to add onto so that the “squash block” had a proper route to transfer the weight all the way down to the footer.
Fifth-
Now for the big show! At this point if you did not have an already existing foundation or girder system underneath your LVL location, you should have had your new columns constructed and they should have also passed their inspections so you can put in the load bearing points (the posts). Now is when your LVL beams will be cut to the proper length and the LVL posts to the correct height. Once the LVL and posts are in place you need to fasten them together with approved fasteners.
Note: Sometimes it’s not needed to use LVL posts, you may be able to use 2x4 or 2x6 lumber (2x4’s doubled, 2x6’s tripled) and cut at the proper hight needed to support your new LVL’s.
Drop Beam Construction- At this point the ceiling joists should be fastened to the top of the beams. If the ceiling joists were separated (for whatever reason) they should be re-fastened to each other (very much how your joist looked before the wall was removed from underneath them).
Recessed Beam Construction- At this point you will need to install the approved joist hangers onto the joist and fasten them to the LVL beams with the correct fasteners. Each joist needs to have a bracket of some kind due to the fact that the bracket is the main way the engineers calculated and approved the beam specifications.
[structurally rated screws]-will need to be fastened into the beam at the appropriate fasting schedule provided by the manufacture
The last step for construction: this step is really important: there need to be blocks or squash blocks installed directly underneath the LVL posts to correctly transfer the load all the way down to the footers. (refer to the picture above to see what an installed squash block looks like)
A lot of times people that aren’t familiar with this process forget this step and this is important because if these blocks aren’t installed, you can be left with all the weight that the LVL system is holding, solely being held up by the sub floor— and that is not good.
Note: the squash blocks need to be equal to or larger than the LVL post to pass inspection.

Triple lvl beam on 6” x 6” lvl post
Six-
The construction of the lvl support beam is done!
Yay! Now the hard work is done you may remove the temporary walls, stand back, and marvel at how cool it was that you tore a load bearing wall down and put up an lvl support beam system. Now it’s time to complete the rest of the framing for your project, and once all framing is done, the framing inspection should be called. When this passes you’re one step closer to your open concept dream!
If you’re in the central Virginia area—
and looking to open up your floorpan (or any other renovations in your home) give us a call— or click below to schedule a free estimate with us. We’d be happy to come take a look!
Our finished lvl framing
alternate view of newly opened space
Thank you for coming on this journey with me, I hope you learned something new about LVL beams and the installation process!
-Christopher
Meet the Author:

Meet the author: Christopher McGee, owner of CM Home Remodel and Landscaping. Proudly serving Charlottesville, Va and surrounding areas